If you’ve read my Tieks post, you know that I’m a fan of the flats but find that they tend to carry an odor after a period of time. In the post I mentioned finding a new product called Foot Petals: Sock-Free Saviors and that I was going to put them to the test, which is exactly what I’ve been doing.
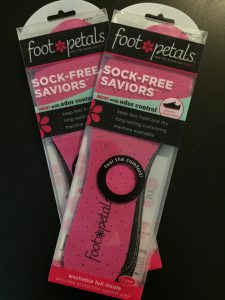
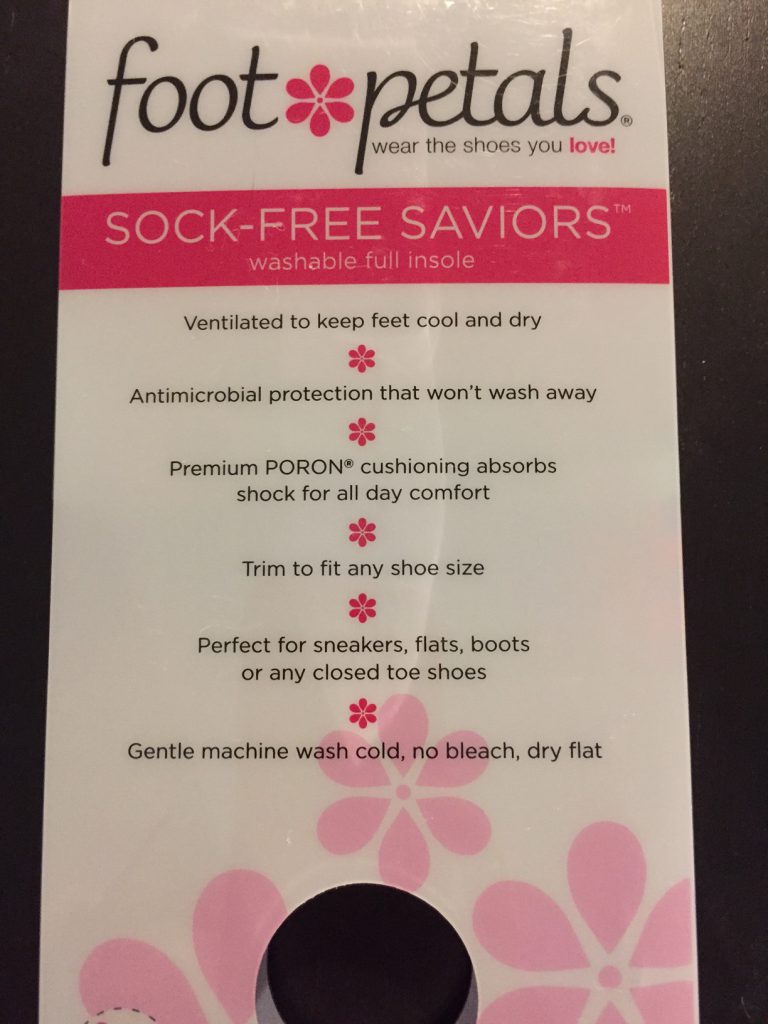
Foot Petals: Sock-Free Saviors are shoe inserts that are removable and machine washable. You can’t go wrong with something that you can easily remove and wash!
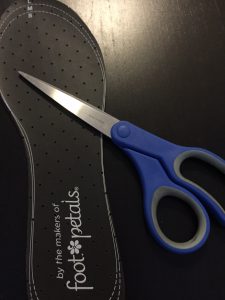
When you get the pack (2 insoles) you’ll see there are different cut lines on the insoles so you can trim them to fit appropriately. I went with the small cut line and found that was still a teeny tiny bit too large still, so I trimmed just a little bit more off. From there, insert them into your shoes!
My journey began with using the inserts with my Keds. I’ve previously been wearing my Keds with what I call micro socks, and while those worked out ok, sometimes you would see the black fabric poke up above the shoe – not a great look. I figured I would give these insoles a try in my Keds because then I would get the comfort of something like a sock, but without needing to wear them or worry about them showing awkwardly. With my Keds, I have no complaints. The sock-free saviors did their job, and my feet felt fresh and were odor free 🙂
Since my first experiment went so well I figured it was time to try the inserts with shoes that really needed them – my Tieks.

Odor: My feet didn’t carry a bad odor! Previously, when I wore my Tieks, my feet would end up getting all hot and sweaty, leading to some unpleasant smells. Due to this, I would have to immediately dunk my feet into the tub after taking the flats off every evening. However, this time around, my feet only really smelled like the insoles themselves (which just smells like plastic). No need to wash my feet – phew!
Comfort: In my Keds, the Foot Petals work great. However, with slimmer shoes like my Tieks, I found there was too much bulk/cushion which caused my feet to feel very squished and a bit uncomfortable. When I removed my Tieks, my feet had deep indents in them for quite a while due to losing some of the roominess in the shoe. I might try to stretch my Tieks out some more with heavy socks to see if that will help loosen things a bit and let me continue to use the insoles. If that doesn’t work, I may try to see if I can cut down the “bulk” a little but I’m not if that’ll be doable.
In the end, I feel Foot Petals: Sock-Free Saviors are a great and affordable investment, especially for sneakers that are cut low on the foot/ankle. I’m not sure they are a great fit for traditional flats, but I’m not going to give up quite yet!