I love succulents. I’ve been pinning them and staring at etsy creations featuring them for a couple of years now. You can’t deny their beauty. What’s great about succulents is that there are so many varieties, colors, shapes, and sizes – literally something for everyone. Even men love succulents, a great alternative to flowers. They’ve taken off in the wedding world, and something I’ve considered using for my one day future wedding.
As I was scrolling through the Michaels website, I decided to check out classes being held at my local store. One of the options scheduled for June was a session creating succulent artwork out of paper! Yes, paper! I’ve already bought a teeny tiny succulent plant from Michaels, and have been contemplating buying more to spruce up my desks at work and home. But why buy plants when I can make something cute myself (with the help of Michaels still).

What you’ll need (I didn’t purchase everything in the above materials list):
- Bazzill Basics Cardstock (2-3 colors) – .79/each
- Artminds Unfinished Wood Frame – $1.00
- Ashland Moss Variety Pack – $8.49
- Glue gun
- Paper plate
- Scissors
- Tweezers
Instructions:
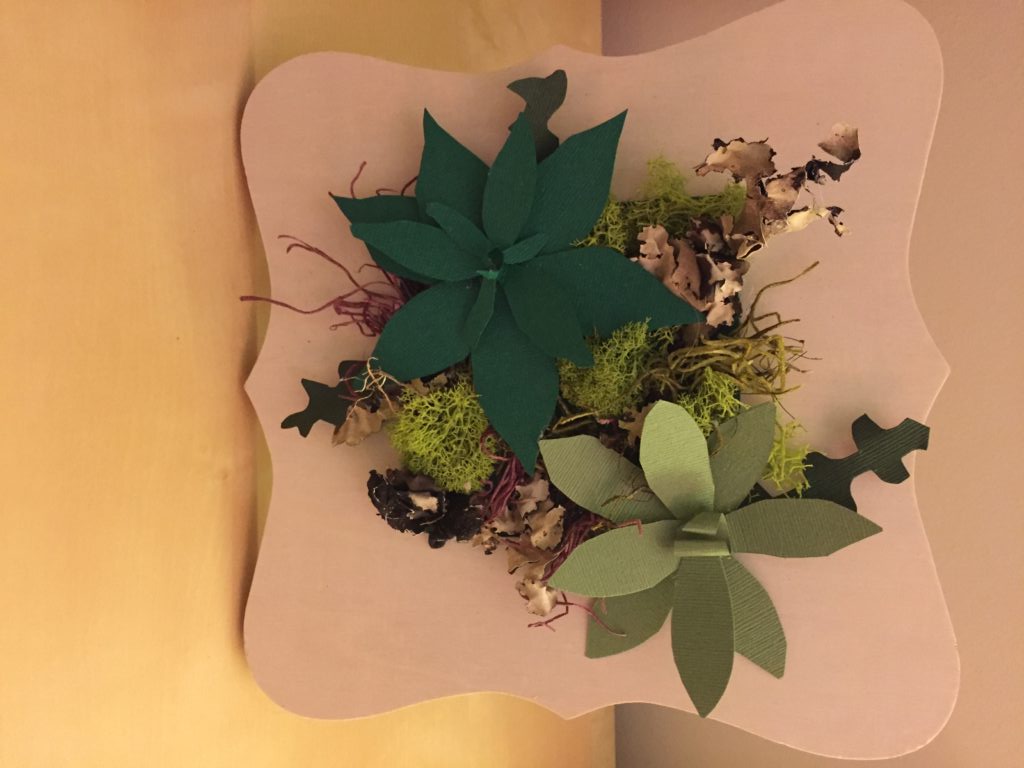
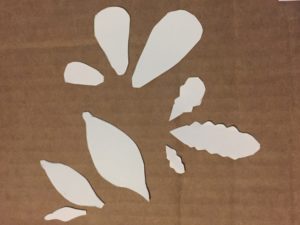
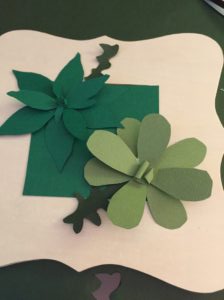
Draw different sized leaf shapes on a paper plate and cut them out. You’ll use these as your template to cut out your leaves in your selected card stock. While the example from Michaels has three different succulents, for this tutorial you’ll only be making two succulents.
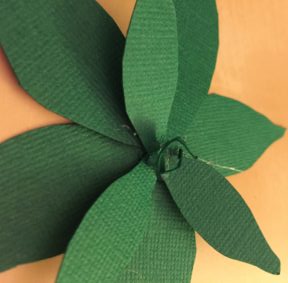
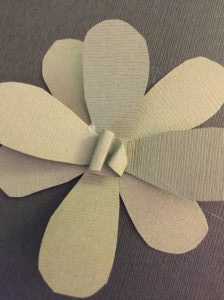
Use your templates to trace your leaves onto your cardstock. Then start assembling your leaves in a shape of your desire. Once you’re pleased with the design, start hot gluing the leaves together, overlapping. You may find using smaller leaves in the center of the succulent is more visually pleasing.
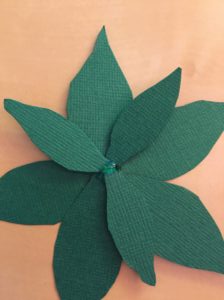
I then rolled a small leaf up to create a little center bud.
After you’re happy with your first succulent, create a second.
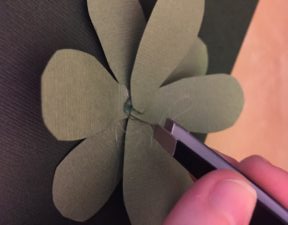
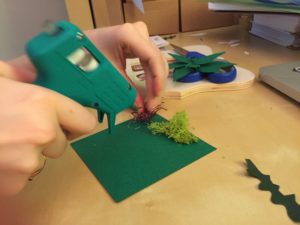
You may find the hot glue goes all over the place, leaving stingy pieces everywhere. Don’t fret! Just use a pair of tweezers to remove excess glue.
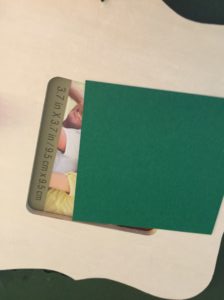
Next, we’ll want to cut a piece of cardstock that’s slightly bigger than the picture frame’s hole.
Once that’s measured, start placing your succulents on the paper (don’t glue them!) to get a sense of where things look best. You’ll see in the picture below I cut a couple leaves out and added them to the bottom of each succulent with my hot glue.
After you know where you want your succulents to go, it’s time to start playing around with our moss. This is where things get messy! The moss bits tend to break apart a bit, especially if you cut them into smaller pieces, which I recommend doing for this project.
Once you have some moss down, it’s time to attach your first succulent. Having moss below your succulents adds a 3D effect.
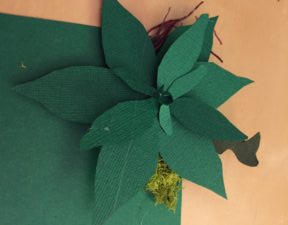
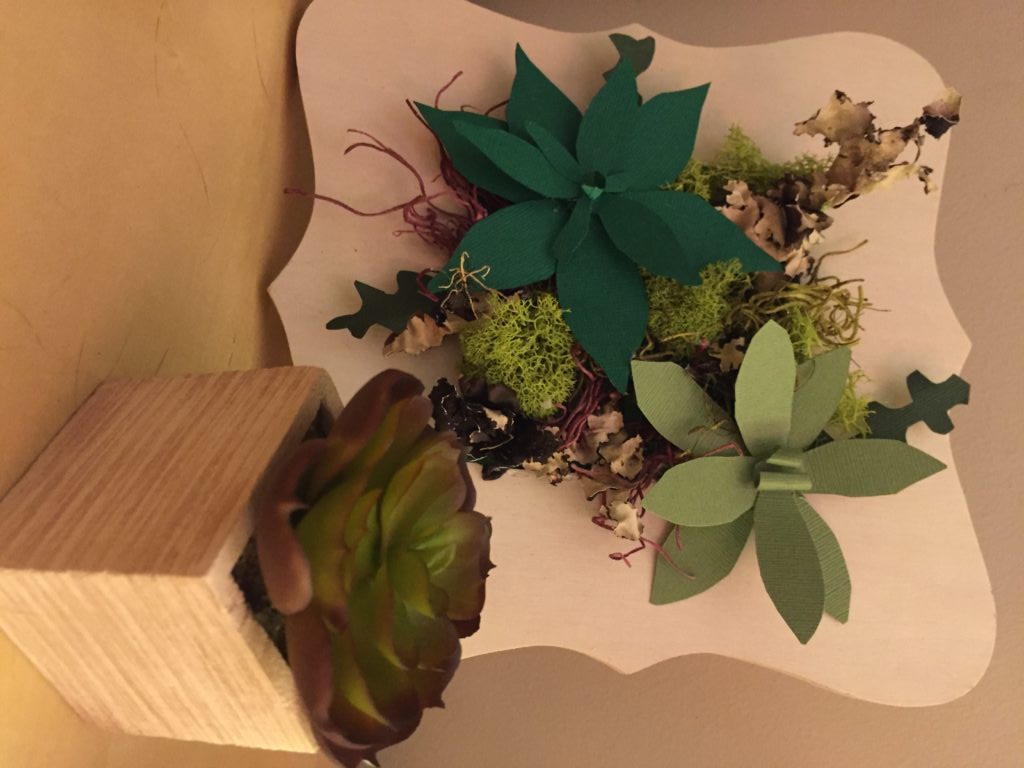
Continue to add moss around the first succulent, and then add your final succulent to the cardstock square. Once the square is completely filled, and you can’t see any of the cardstock beneath, it’s time to glue your creation to the frame. Add a thin line of hot glue around the frame’s opening, and press very lightly down with your cardstock. Within seconds the glue will be dry and it’s time to add the peg to the back of the frame and display your creation!
This creation would be great for a cheap centerpiece, desk decoration, or wall art.