I’ve been big into watercolors lately. During my spare time on the weekends, or after a long stressful day at work, I love to pull out my Koi Watercolors Pocket Field Sketch Box and paint. I’ve been working on a personal series of paintings for my apartment, focusing on “under the sea” as a theme. I’ll be sharing a bit about that in the near future.
When my mom saw my sea life paintings she fell in love with them, and wondered if I could make her a flamingo painting. Flamingos are my mom’s favorite. I don’t know why or how they came to be her favorite, but they are. I’ve never created a flamingo before, so here’s to a new challenge!
Let’s start by drawing out the shape of the flamingo’s neck and body with a wet brush, no paint.
Once we have water down on the paper, it’s time to add some color. I mixed red with a lot of water to dilute the color.
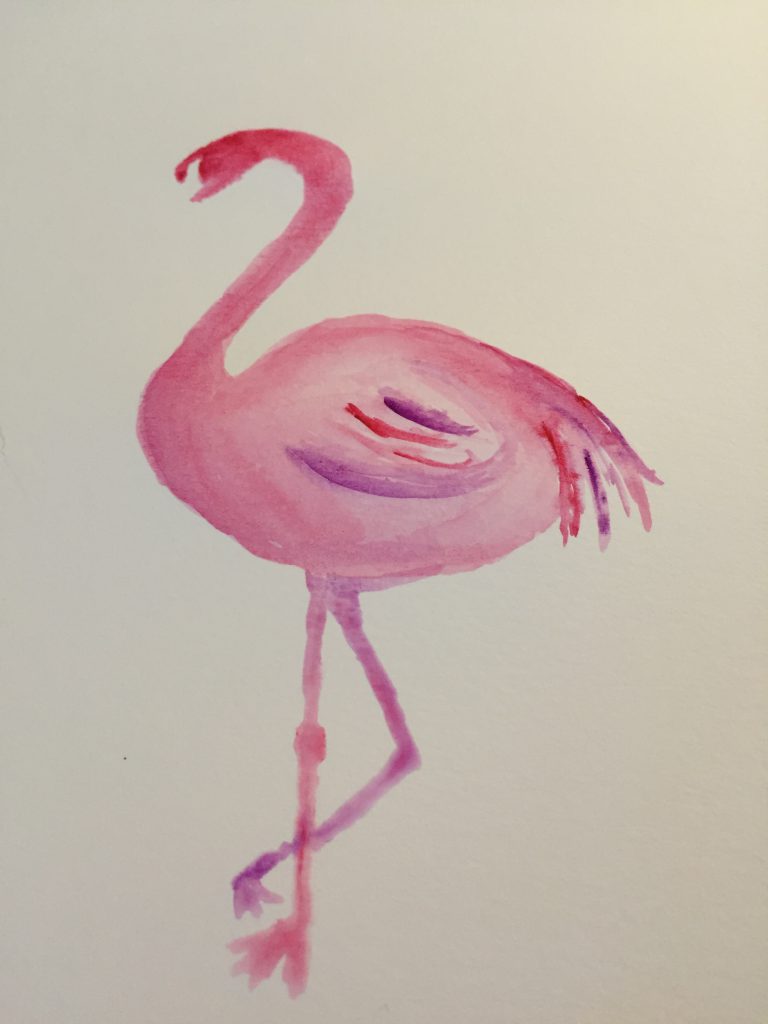
Continue to add paint to the body of the bird, adding in some feathers with deeper hues of red or purple. Once you’re happy with the body and neck of the flamingo, it’s time to add legs. Flamingos are known for standing on one leg, so that’s how we’ll make our flamingo stand.
With a neck, body, feathers, and legs, our flamingo is almost complete! You’ll notice in the picture below that I haven’t given the flamingo a face yet. I wanted the paint around the face to dry before I brought in a harsher color for the beak and eye.
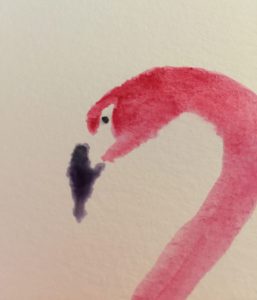
Mix purple, blue, and a spec of black together, adding in a bit of water to make the color not so harsh. Then, slowly create an outline for the beak, avoiding the pink parts of the head.
Add an eye with a fine point brush – just one small dab will do, and you should end up with the following.
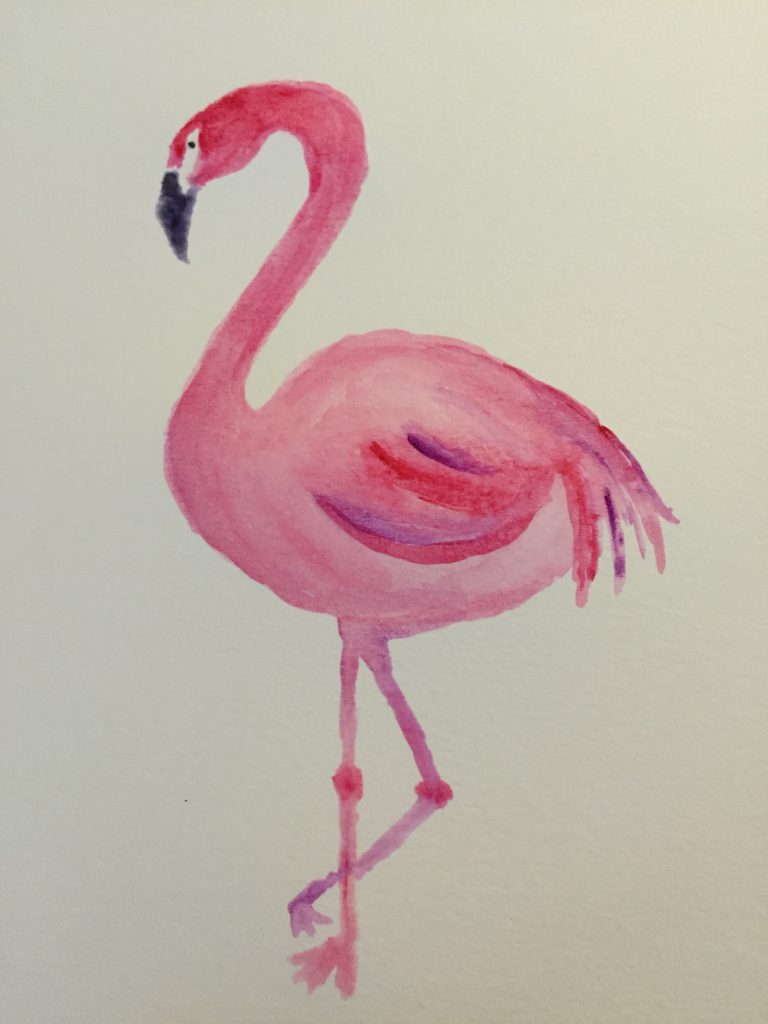
After adding in my beak, I felt the face was a little too skinny, so I added a little more pink to provide fullness to the face. And with that, under 15 minutes you have a pink flamingo ready for framing!
Happy painting!