For the past few months I’ve been interested in home decor, sprucing up our apartment, and finding creative ways to add color and something unexpected to our home.
One piece that would always catch my eye is a painted/dipped wooden vase. Instead of paying $40+ on a painted wooden vase, I challenged myself to make my own. It’s a simple and fun activity you can do at home cheaply.
Here’s what you’ll need:
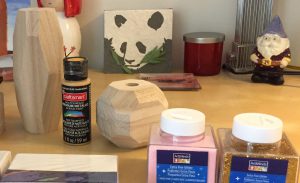
- 2 wooden vases (different shapes/sizes recommended)
- 1 paint brush and 1 sponge brush
- glue
- 2 paint colors of your choice
- 2 glitter colors that match your paint choices
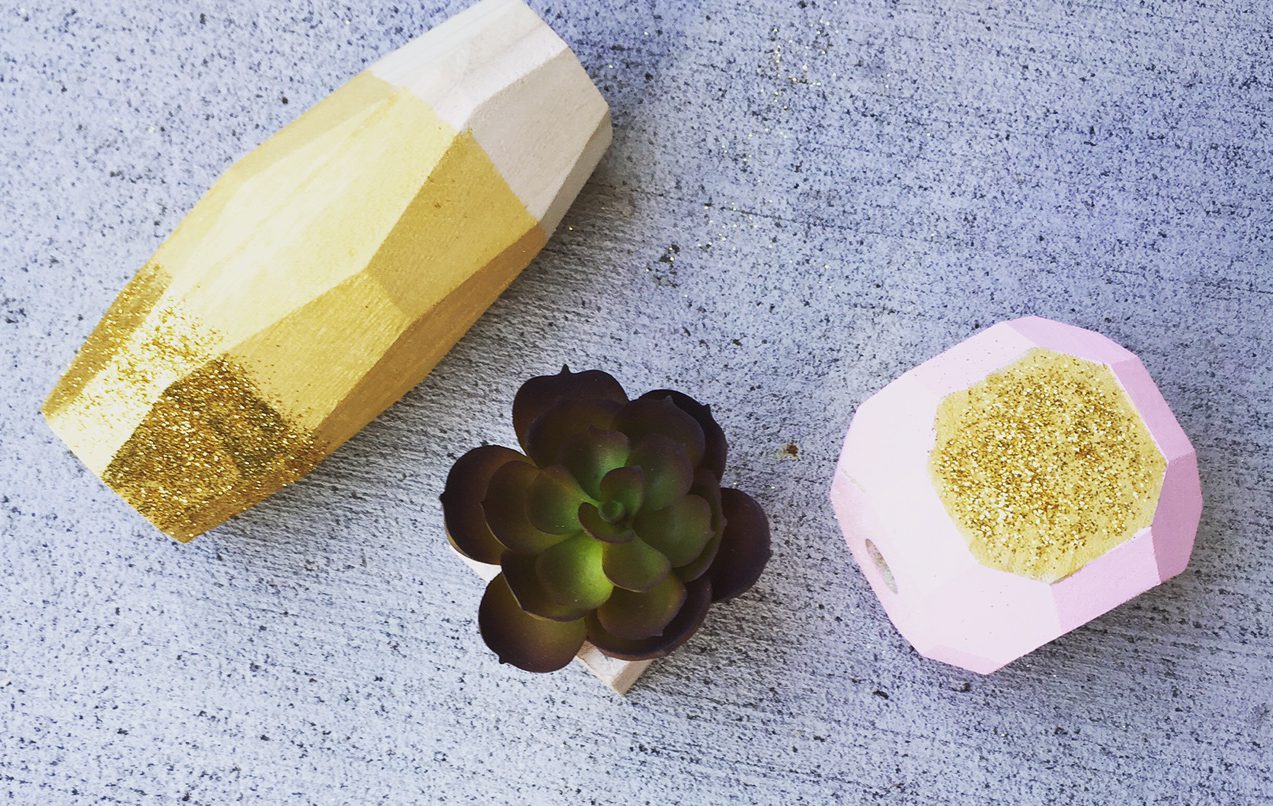
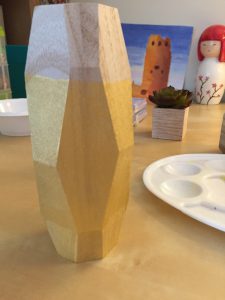
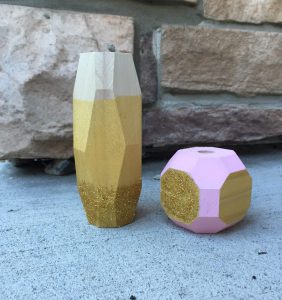
For my vases, I decided to go with gold and pink as my colors, one of my favorite color combos at the moment. Begin by choosing how far up the vase you want color. I wanted to show some of the natural wood color with my vase, so I painted everything but 1/3 of the vase gold.
Let the paint dry on your first vase before adding any desired glitter, and start on your second vase.
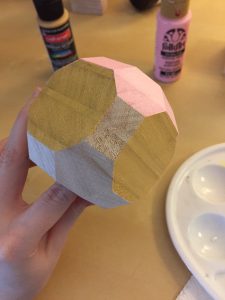
My second vase features both colors. I recommend painting one section at a time, starting from the bottom. Make use of the vase opening to paint the different sections without getting paint on your table or accidentally sticking your fingers in the fresh paint.
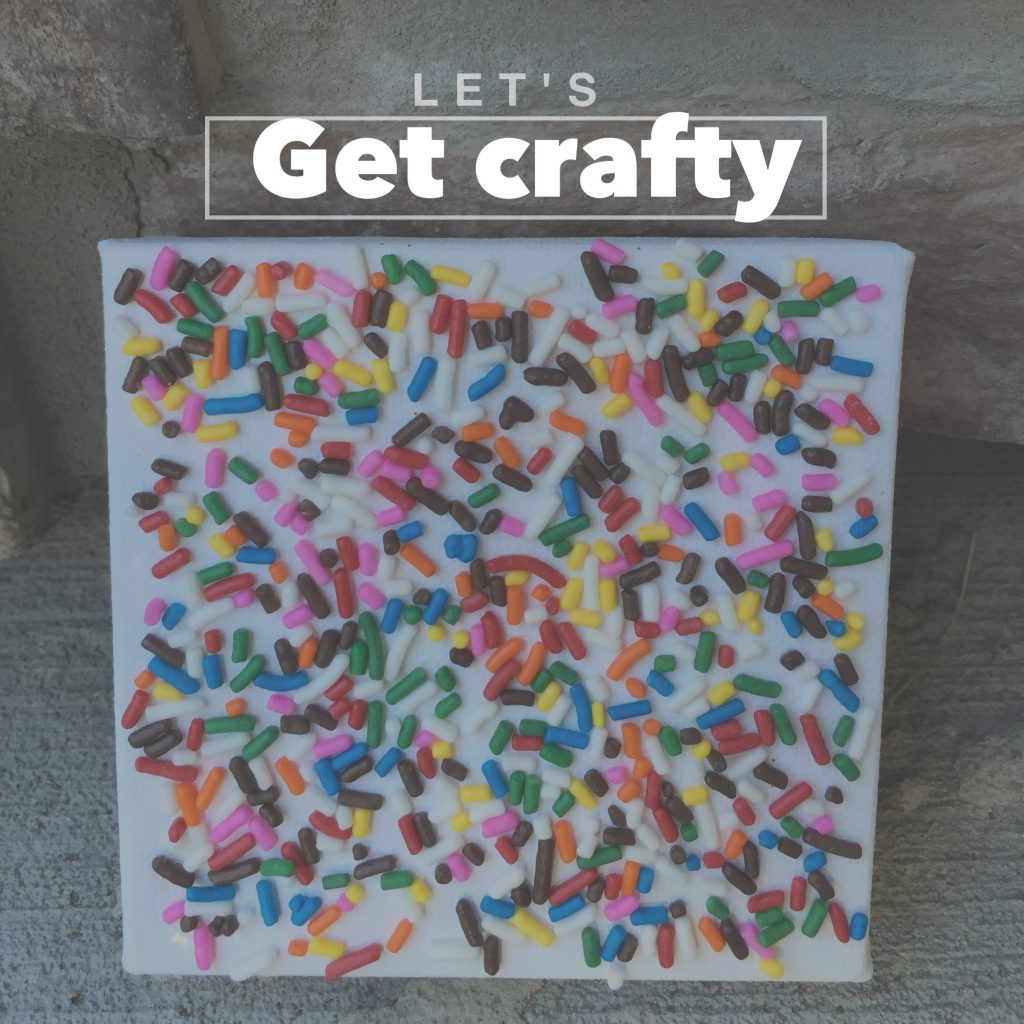
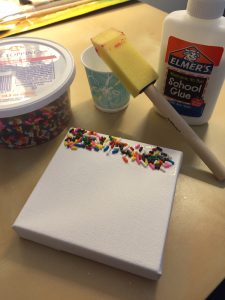
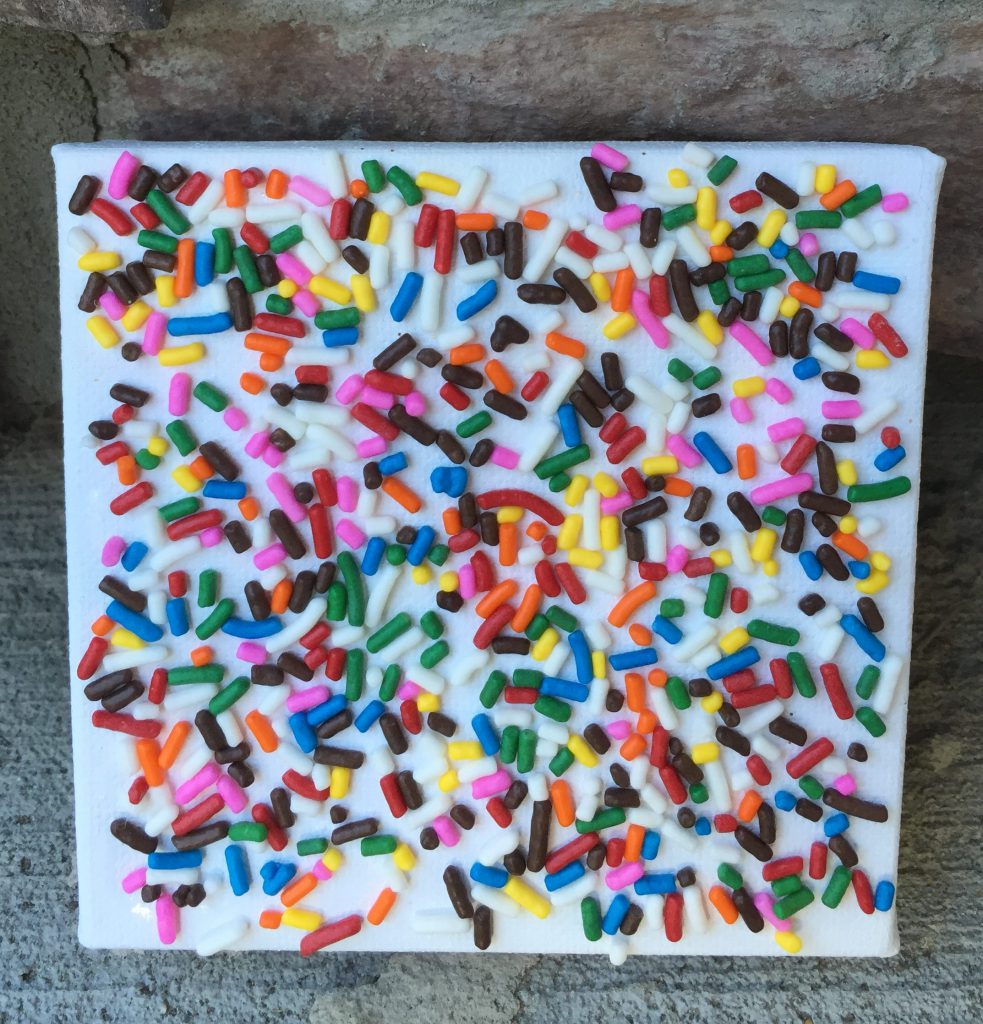
Once all is dried, it’s time to glitter! Make a glue + water mixture as we did in the sprinkle post, helping you easily smooth on glue with your sponge brush. Then sprinkle on the glitter.
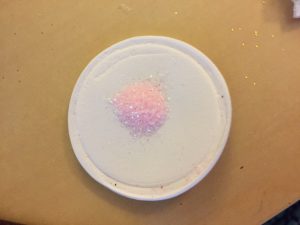
One trick I discovered was to use the little foam covers that are inside the lid of the glitter container to help control your glittering. Not only does this help minimize the amount of glitter you get on you (and we all know once it’s on you it’s there forever) but it’s a great guide to ensure your glitter doesn’t go on the wrong colored sections.

If you’re interested in using the same neat shaped wooden vases for your own project, I purchased everything at my local Michaels.
- Large “rtf wd geo-shape” vase – $4.99
- Small “rtf wd geo-shape” vase – $3.99
- Glitter stacker – $3.99
- Multi service paint – $1.49 each